With macOS Tahoe, Apple came with quite a few cosmetic changes in the UI.
Some love the changes, some hate it, and some do not care either way.
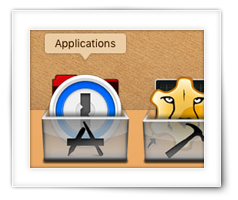
The one thing that really annoyed me, besides Tahoe feeling a little sluggish and some of those cosmetic bugs, was the “squircle jail” applied to application icons that do not seem to match Apple’s new icon design desires, where a grey squircle was drawn behind the icons that used to look great.
To fix this, there is not a single option in the OS to be found to undo this unwanted change.
So I ended up figuring out the “new” icon, and how to override it, is all controlled with Extended Attributes and created a little application, SquircleNoMore, to strip those ugly icons and reset applications to their native icon.